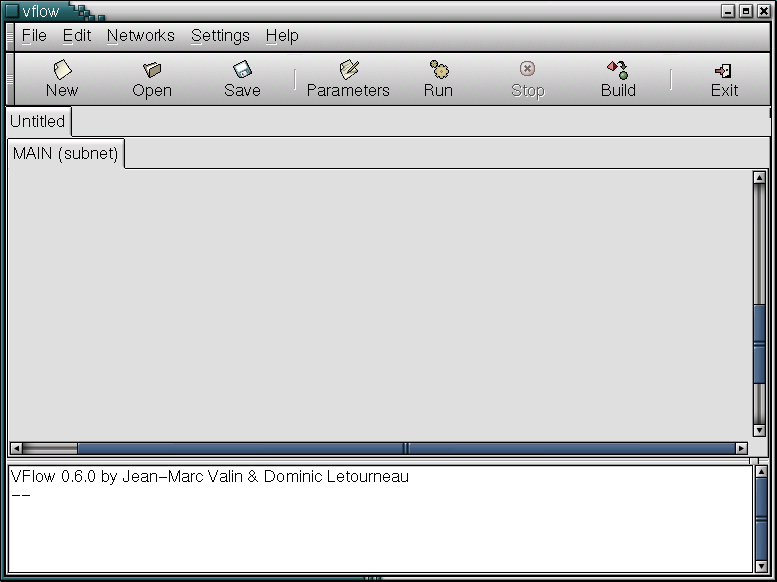
If called with no argument, the vflow program will start with
a new empty Overflow document (fig. ![[*]](crossref.png) ). It will
already have a network named "MAIN". It is important
that every "program" contain a network called "MAIN",
which is equivalent to the main() function in a C program.
). It will
already have a network named "MAIN". It is important
that every "program" contain a network called "MAIN",
which is equivalent to the main() function in a C program.
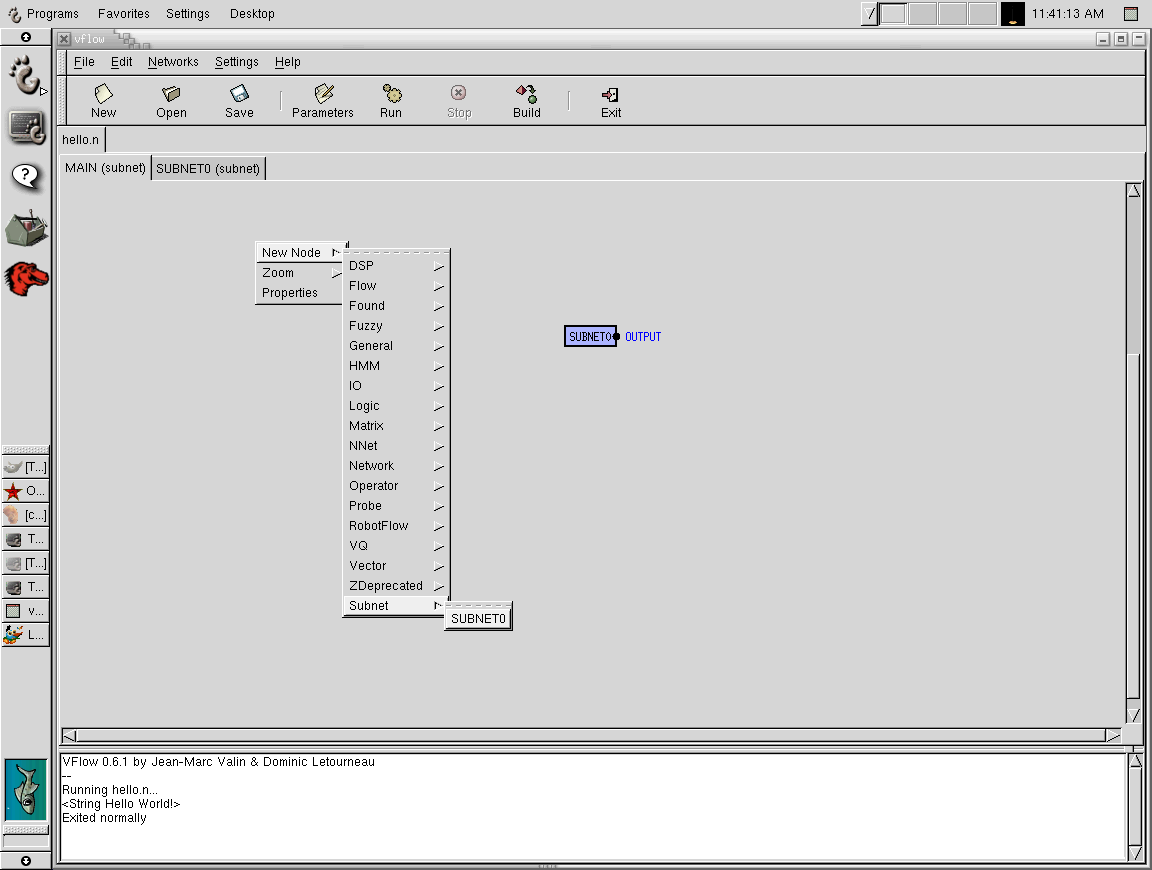
You can then add nodes to your network by clicking on the right button in the background, select New Node and the type of node you want. The node inputs are displayed as dots on the left side of each node, while the outputs are displayed on the right side. Inputs and outputs are called terminals. You can connect two nodes by clicking on a terminal and dragging the mouse to another terminal. Note that you cannot connect two outputs together, nor can you connect two inputs together. Except by using the Feedback node (see the "advanced" features section), you should not have feedback loops in your network. Links can be deleted by clicking on them with the SHIFT modifier on.
Right-clicking on a node brings up the node menu. Selecting "Properties" in the node menu brings a dialog with parameters used by the node. Each parameter has a name a type and a value. Some of the parameters are mandatory, while some others are optional. See the node documentation for a description of all the parameters.
All networks must have at least one output. Any network that is not a top-level network (MAIN) may also have inputs. Inputs and outputs names are added by left clicking on a terminal with the SHIFT modifier on. You will be asked to provide the input/output name.
| GUI Controls |
Actions to do
|
| Add nodes to the network | Right-click on the background and select New Node to add the node you want. |
| Connect two nodes | Click on the terminal and drag the mouse the other terminal. |
| Delete links between nodes | Click on the link with the SHIFT modifier on. |
| Set a node parameters | Double-click on the node OR right-click on it and select Properties. |
| Add output/input name to a node | Click on the terminal with the SHIFT modifier on. |
| Get information about the node | Middle-click on it |
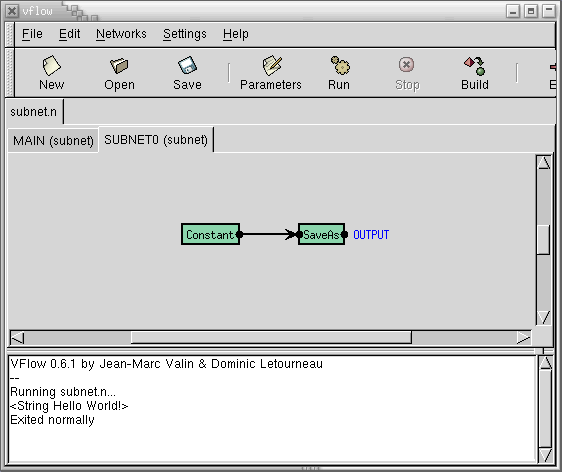
As mentionned earlier, every "program" contain a network called "MAIN", which is equivalent to the main() function in a C program. However, you can add more sub-networks (equivalent of sub-routines) from the main menu (Networks->Add Network) that can contain several nodes connected together. That way, You simplify programming and you can reuse those networks as subnets in a higher level network. It is very important to name the newly created network a different name than "MAIN" for obvious reasons. Those networks must absolutely have "named" inputs and outputs in order to be used in higher level networks as explained in the previous section. To add sub-networks into a network of higher level, right-click on the background and select the sub-network you want to add from the menu (New Node-> Subnet).
Note that you can try out this program by clicking on the open icon and select: FreeSpeech/examples/subnet.n .
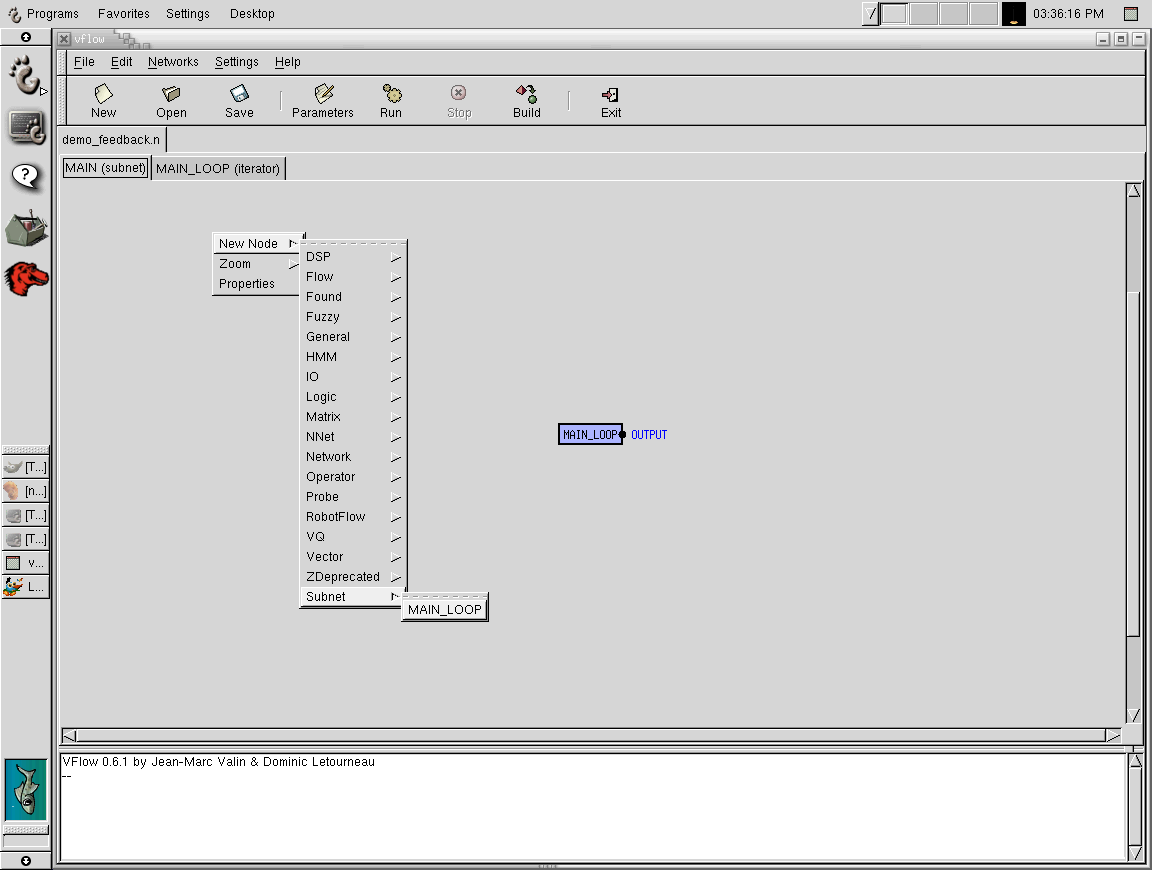
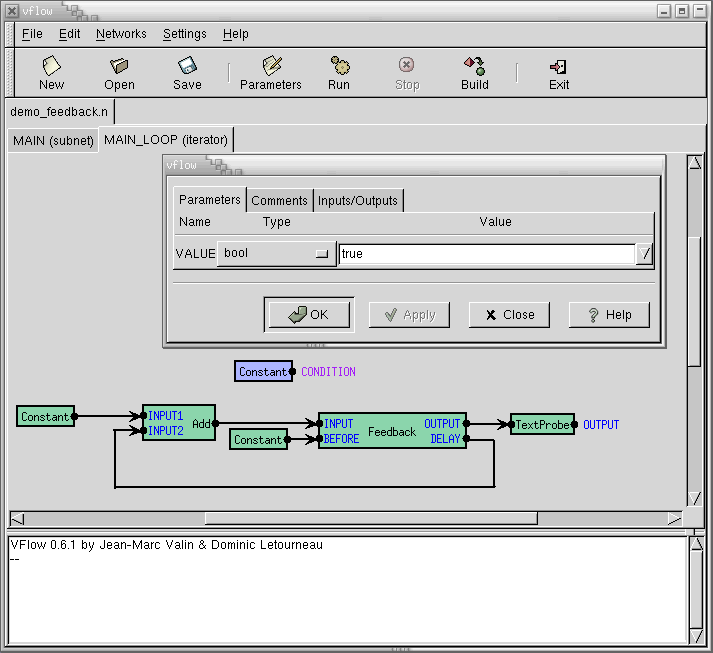
Another useful type of network you can create is the Iterator (main menu Network->Add iterator). An iterator, is a control structure that performs a loop. It stops looping when a certain "control condition" is met. The condition is a boolean value the iterator gets from a node. To define the iterator's condition, left click on a node output while holding the CONTROL (or ALT) modifier. Note that there is a bug in some versions of gnome for which CONTROL does not work with the canvas, so you'll have to use ALT.
Note that you can try out this program by clicking on the open icon and select: FreeSpeech/examples/demo_feedback.n .
For now, Threaded Iterators are experimental. They are a special kind of subnets that provide a different level of multi-threading. You should not use them, unless you REALLY know what you are doing.
When your program is complete, you can execute it by clicking "Run" in the toolbar. If an error occurs, the program will abort and the error will be printed in the text box in the bottom pane. Node that as of 0.6.0, the created documents have execute permission and can be executed as a like a script, provided that the batchflow executable is in the path.